As with all things writing, there are about 10000 different ways to do anything. But my WIP is on a tight deadline, so I developed this technique to revise thoroughly and quickly.
If you want, you can check out my outlining technique to see what I did on the front end to reduce revision. Then follow me down the rabbit hole of madness!
Step 1: Get Input While Drafting.
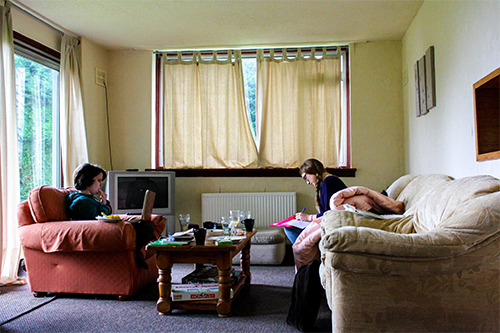
I had a workshop group for my WIP, but you can also do this with a critique partner. There are a lot of forums/blogs that offer CP services, but a particular favorite of mine is Ladies Who Critique.
As I drafted, others’ feedback kept me motivated and kept my manuscript moving in the right direction. By the time I got to hardcore revision, I found it extremely helpful to have pockets of story that have been intensely revised already. It gives me little boosts of respite.
Don’t get totally bogged down in this—definitely keep drafting until you have a complete manuscript—but also be willing to do some work as you go. Your future self will thank you.
Step 2: Make Sweeping Analyses.
There are a few ways to get a sweeping look at your manuscript.
Option A: Read ALL the manuscript!
Print it out (or toss it on your Kindle) and set aside a day to read it front to back. The whole thing. Take notes as you go—any inconsistencies, any big spots that need work, anything you notice, track it.
Option B: 30 Pages
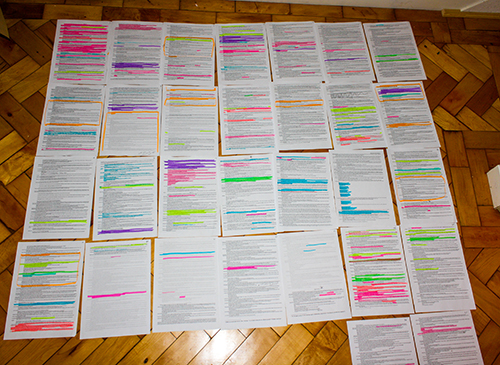
I recently found this post about revising your novel at a glance, and I love it. The basic concept is you make your book fit on 30 pages and you turn it into a carpet. I used my 30 page exercise to track all the subplots that I knew weren’t working as well as they could, and it was immensely helpful. But you can also use it to check the balance of dialogue vs. internal thought, or even to see what scenes might need to be cut.
Step 3: Interpret the Analyses.
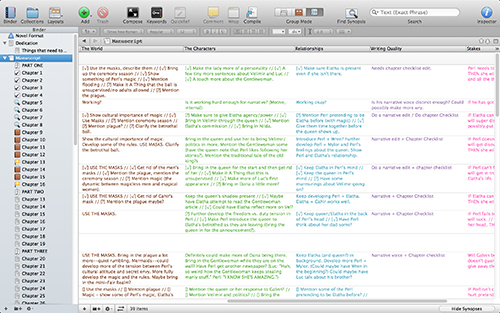
Take your notes on what still need works and divide them into categories. Your categories will be different from mine, but mine were: Worldbuilding, characters, relationships/dynamics, and writing quality.
Group your notes into the categories. For instance, if that troublesome plague needs more foreshadowing, throw it under worldbuilding.
As you edit, you can refer to this list easily to make sure you’re strengthening these core issues.
Step 4: Target Sections.
Divide your manuscript into sections (just for the purposes of revising). If you already have specific arcs or parts, that works as a guideline. As a general rule 40,000 words, or thereabout, is a good maximum. I find it overwhelming to tackle 80,000 or 90,000 all at once.
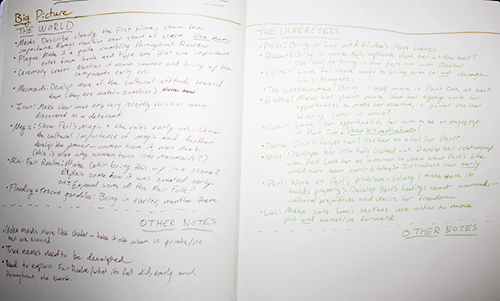
Take your bullet points from Step 3 and go to the chapters in your first section. Scan the chapters quickly and look at your list. Where are the gaps in this chapter? What can you tweak to strengthen your weak points?
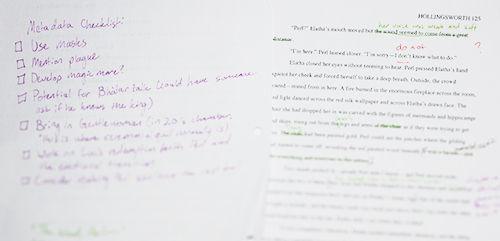
(Note: I track this in my Scrivener metadata, which is the picture above.)
Step 5: Revise in Broad Strokes.
Revise with an eye on those lists. These are the sweeping revisions—the plot and narrative stuff.
You may have noticed we just got to editing, and we’re at step 5. Why all the prep? Because otherwise it can be far too easy to lose sight of your editing goals. Inevitably things fall through the cracks, but with this level of intentionality that won’t happen as much.
Depending on the quality of your first draft, sweeping revision may require one or two redrafts (or five). Press through!
BONUS STEP: Critique Partners and Betas!
Remember those guys in Step 1? Well, this is a good place to reach out to them again, or find some new test subjects! At this point, I like to pass out copies to friends or family for some non-writer perspectives, but I also try to find a fresh critique partner or beta reader to give me their feedback.
There are three reasons getting someone else to look at your work is vital:
- Revising is boring. Getting feedback is fun!
- No matter how much work you put into your manuscript, you will still miss things that other people can spot from a mile away.
- Showing people is the first step to letting your baby go. Critique will both build your confidence and toughen your skin—vital skills to learn before you tackle the tough world of querying or put your book out for the public to tear into.
DO IT.
Step 6: Close Edits.
Let me introduce you to my BFF, the Chapter Checklist. I developed this while I was editing Blessings. It’s pretty basic, but having a sticky note with this list to check off does wonders as I try to catch my bad habits.
Basically, a chapter checklist is built to catch your weaknesses on a line-level. My list doesn’t look the same for every book, and your list will probably not look like mine. But here’s an example:
Chapter Checklist
- What is this chapter doing for the book overall? Do we need this chapter? Do we need all of this chapter?
- First sentence. Does it have punch? Does it have a hook?
- Check for chapter theme. What is this chapter doing?
- Check that amplification—Every time something is repeated, is more revealed?
- Is there vivid description?
- Is there clear choreography?
- Edit for character voice.
- Edit for passive voice.
- Last sentence. Does it have a hook? Is the chapter ending where it needs to, or could it end earlier?
Once I have my checklist, I normally print my manuscript, arm myself with sticky notes and pens, and attack it, hardcopy-syle. I then upload the changes. (You can check out this blog entry about using the search function to catch passive voice and repetitive words, if you’re a dummy like me.)
(UPDATE: You can read more about my chapter checklist and get your own pretty printable copy here!)
Step 7: Listen.
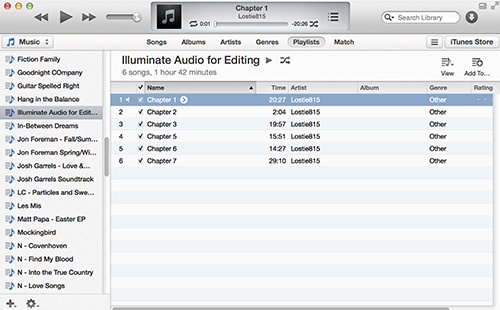
I wrote about this already in the 3 Reasons to Listen blog entry, so here it is in sum: Listening to a robot (or a friend) read you your manuscript will help you catch all sorts of errors. Typos, repeated words or phrases, inconsistencies–they have nowhere to hide when they’re read aloud!
It’s important to not only read this to yourself (though that helps, too), because your brain with automatically correct mistakes and you won’t see them. Keep your manuscript on you while it’s read and correct while you go.
Once you get to the end of this process, you’ll have a gorgeous manuscript. It won’t be perfect—it never will be—but it’ll be one hell of a beaut.

