 Continuing on in my (somewhat infrequent) story graphics series, let’s talk about one of my favorite things to make: Theme collages! These can be a fabulous way to visually brainstorm your project from all angles (character, setting, conflict, you name it). I particularly love to make collages for my fantasy stories, because there are so many pretty pictures to choose from.
For maximum brainstorming effectiveness, I recommend putting on your story playlist (or a playlist of fitting music), getting a cup of tea, and snuggling down to put all this together. The music in particular really helps!
Full credit where it’s due: This idea is adapted from the lovely C.J. Skuse, one of my wonderful tutors at Bath Spa University, who makes actual physical collages for many of her stories.
Credit for the images goes out to their respective artists. Check the board to find originals.
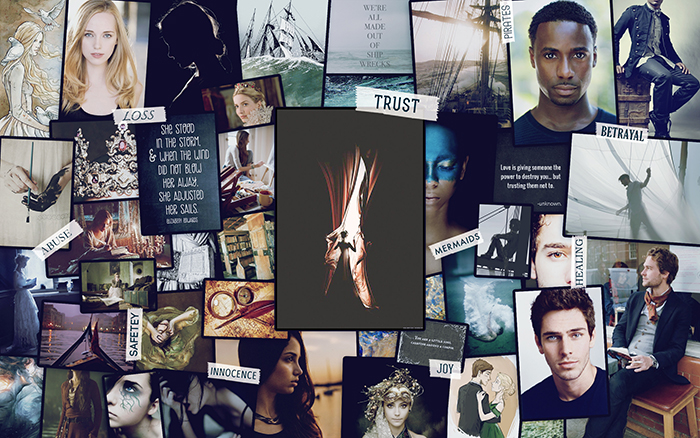
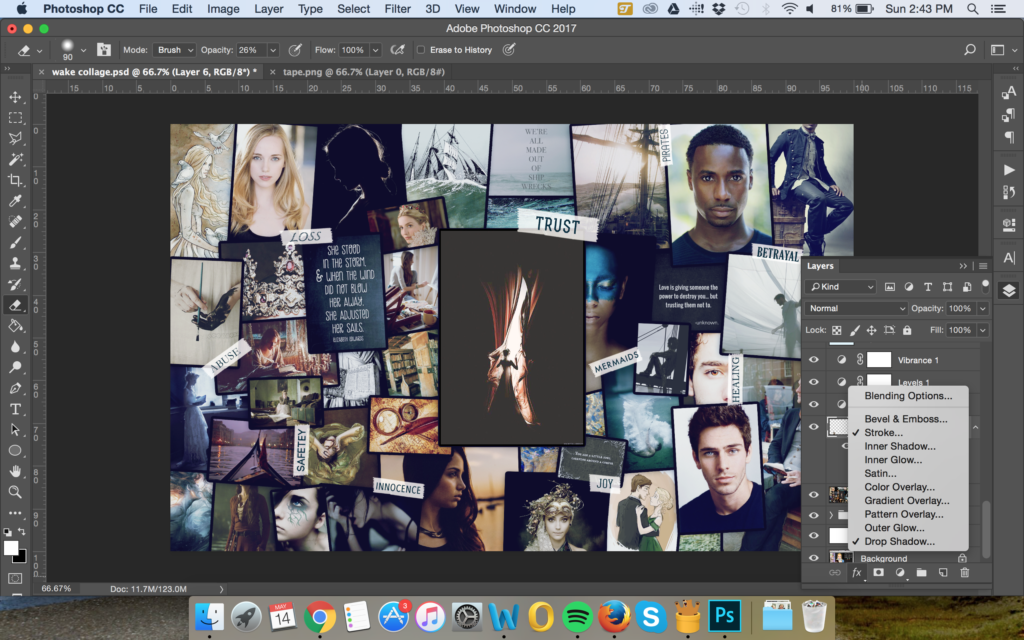
Here’s the finished collage for my WIP, Wake (which is… technically a work-on-hold more than a work-in-progress, but I’m really proud of this design). So let’s dissect how this works. I’ll be using Photoshop for this tutorial, but you can use anything that let’s you make collages, really. Even (gasp) actual paper and glue!


Step 1: Gather Your Images
All the images here came from my Pinterest board, which has 401 pins at the moment. Obviously I didn’t use them all for this graphic.
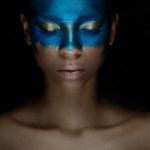
I primarily looked for: Images of my characters, images of environments, quotes that were relevant, and atmospheric shots (like the guy in the sail).
Step 2: Choose your Central Image
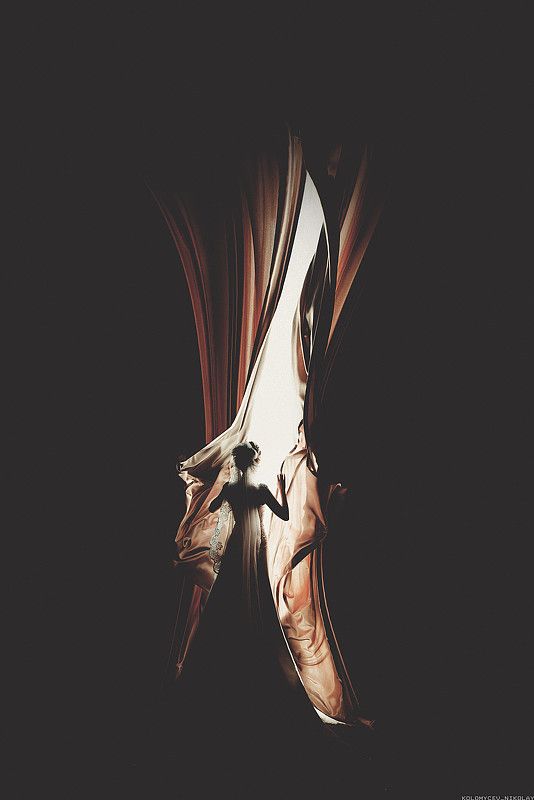
This image is meant to embody the soul of your book. No pressure, am I right?
For Illuminate, my central image is a girl taking off her mask (which ties with the central theme of identity). For Blessings, my central image is my two main characters dancing (to show their mutual sense of belonging). In Wake, it’s a girl throwing open the curtains (which I thought nicely illustrated my main character’s journey into light/confidence).
This is often the hardest part of the whole collage, but it’s such an interesting exercise. Distilling all the complicated pieces of your story into one picture is a valuable process and can really help you focus in on what’s the most important aspect of your story.
(We’ll return to the words in a minute — I always leave those for last.)
Step 3: Organize Your Images
Obviously you can do this however you like, but I generally set up my collages with a certain level of order (which should surprise no one). My four main characters each get a corner. In that corner, I put pictures of them, quotes about them, and any relevant setting/object/atmospheric images to do with them.
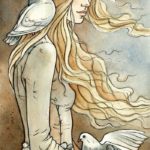
For instance, Rae (on the bottom-left) is my mermaid-turned-human chick. She has a couple pictures of herself, along with a piece of costume reference, an underwater mermaid picture, and a shot of Venice. Elatha (above her) is my artist princess, and she has plenty of paint shots, as well as libraries and a crown. You get the idea.
When placing images, I wanted to keep the look from getting too messy. I dragged the individual images into my main picture and added a curved border to each of their layers, so that it would look tied together but not too overbearingly stacked. In this graphic for Wake, I went for a black border because it fit the mood, but I’ve also done cream and white borders.
Experiment with placement and levels as you add, finding the spots that fit best for each picture you want to include. Often I’ll be tweaking these placements throughout the process (and getting rid of images that don’t work like I want them to). If you’re especially high maintenance, you can keep an eye on color tone and try to match images that way.
Step 4: Add Your Words
Finally, it’s time to add your words. These should be words that embody the main conflicts, arcs, or themes that take place in your story. I generally try to place words relevant to the specific characters in the same area, because I’m picky like that.
I use a tape texture (which you can find here) and paste it over my image with the layer setting to “screen”. That’s just me being me again — you can totally do it with just a white strip and text, or really any way you’d like. I try to spread the words out so they don’t cluster too much and become distracting.
That bigger, bolder word on my central image? That is the central theme. Identity, trust, belonging — whatever it is that rings true throughout your story, it goes here. This is another challenging (but fun!) exercise: Distilling all the storylines into one clear word. I find it very helpful to do this, though, as it helps me narrow my focus to what really matters in the story.
Optional — Step 5: Edit the Whole Thing
If you’re a perfectionist, you can play with colors, filters, layers, etc., to pull the whole thing together and create a certain mood. My Illuminate board is quite golden-y, while my Blessings one is more subdued warm tones, and of course this one is rather gray-blue. But if you’re happy with what you’ve got, there’s no reason to fiddle with it beyond that.
Show Your Collage Off!
You’ve finished, huzzah! Share it with friends and family. Make it your desktop and/or phone background. Print a copy and stick it on your wall. Keep it in front of your face while you draft and revise, and you’ll be surprised how inspiring it can be!
I’d love to see your collages, if you make some! Feel free to post a link in the comments!